Written by Simon Allemann | February 4, 2020 | updated August 22, 2025


With the configuration of the NPS being pertinent to reliable results, we have explained the available templates that facilitate setting up NPS campaigns efficiently. Taking configuration a step further, Rohde & Schwarz introduces the NPS campaign configurator, a step-by-step configuration workflow that eliminates the need to import external files and saves users much time before venturing out into the field.
Network Performance Score (NPS) configurator
The NPS configurator streamlines the entire NPS campaign setup process in just five steps, ensuring a robust campaign that operates across multiple channels and meets all NPS criteria.
Let’s dive deeper into the campaign setup within SmartBenchmaker or SmartMonitor. In the “NPS Campaign” view, users can initiate the Network Performance Score configurator, which is organized into five distinct sections:
- basic info,
- job config,
- data probe assignment,
- voice probe assignment,
- and voice probe pairing.
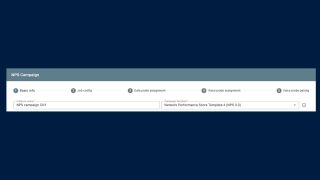
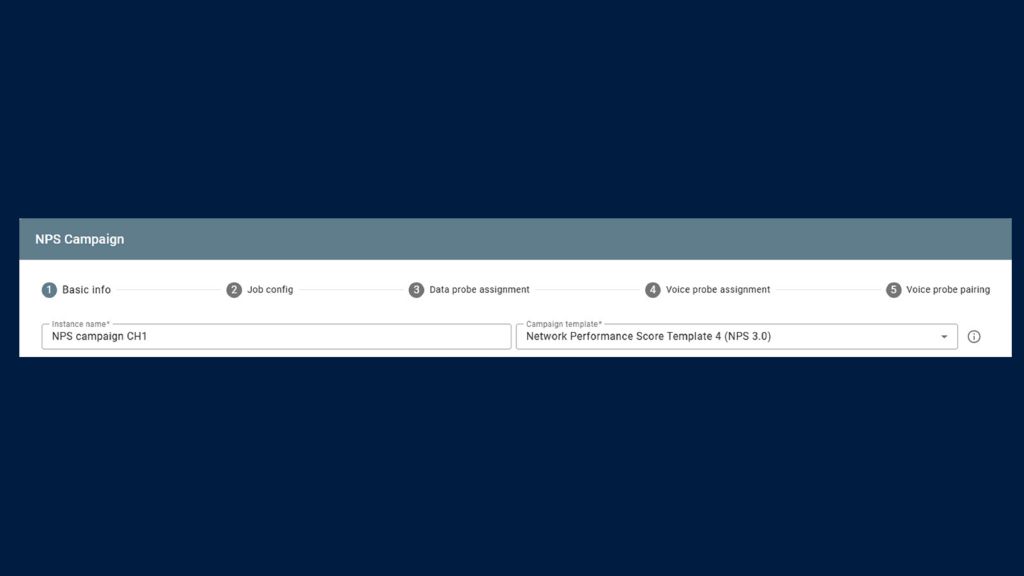
1. Basic info:
In this section, users can specify the “Collection ID,” which represents the NPS version. This versioning allows for comparisons between the current NPS campaign and previous ones. Additionally, users can name the NPS campaign and, crucially, select the NPS category and campaign type.
The NPS category determines how data is classified, with options including “City,” “Town,” “Hot Spot,” “Road,” or “Rural.” Selecting one of these categories aids in filtering the relevant data during post-processing. The campaign type allows users to specify the services being evaluated, with choices of “Data,” “Voice,” or “Data/Voice (MIX).”


Step 1 of the NPS configurator: enter the basic info
By configuring these settings at the beginning of the campaign, users are tagging the collected data. Tagging at the beginning of a campaign makes data analysis in the post-processing phase much more efficient by offering more drill-down and filter options.
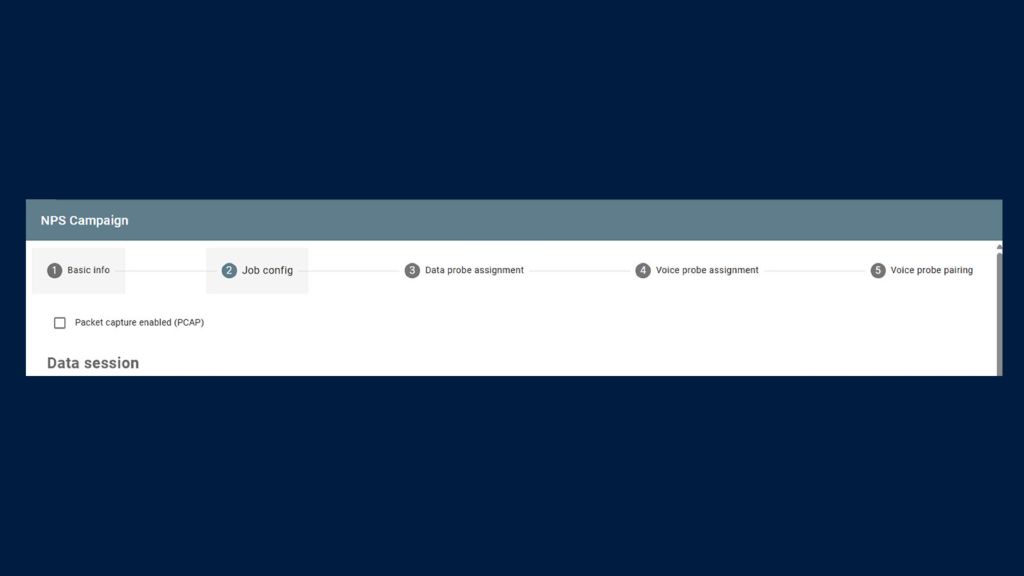
2. Job config: The next step is the job configuration in the “Job config” view. Here, users get a preloaded list of tests depending on the selected NPS campaign category (“Data/Voice (MIX)”, ”Data” or “Voice”). Users only have to fill in a few high-level parameters, such as the host address and URLs, or select the desired reference file for voice tests.


Step 2 of the NPS configurator: configure the job
A preloaded list of tests is available saving users much time since they only have to enter those parameters that are different from country to country and among customers. For specific tests, such as the live web medium (local), users can define their list of local web pages, which is then available for all later NPS campaign configurations, making future campaign configurations much faster.
3. Data probe assignment: Next, users need to assign the QualiPoc probes for the data tests. A rather simple task, the configurator helps by showing all available probes, including the probe status.


Step 3 of the NPS configurator: assign the probes
4. Voice probe assignment: This configuration step is only necessary if users want to configure the campaign types “Data/Voice (MIX)” or “Voice”. In the “Voice probe assignment” view, users can assign the device and also define whether the device is used as an A-side or B-side probe.


Step 4 of the NPS configurator: assign devices for voice probes
5. Voice probe pairing: In the final step of the NPS configuration, users can define or modify the pairing of the voice probe. This step is only applicable if the campaign types “Data/Voice (MIX)” or ”Voice” have been selected.


The final step of the NPS configurator: define or modify voice probe pairing
Finally, the NPS campaign with all the required jobs and missions is generated, and users can hit the road and start collecting data.
Reduce mistakes and save time
Setting up an NPS campaign may appear overwhelming due to the numerous data and voice tests involved, as well as the interdependencies between probes. However, the Network Performance Score configurator simplifies this process by presenting users with only the essential high-level parameters.
The NPS configurator in SmartBenchmarker and SmartMonitor minimizes the risk of configuration errors. It eliminates the need for lengthy pre-checks or costly re-runs that often arise when mistakes are identified after the campaign has begun. This tool not only accelerates the setup of data collection campaigns but also enhances overall efficiency.
In closing, I would like to cite my colleague and fellow blogger, Dr. Jens Berger, by saying: “Thank you … And keep your score high!”
For more information about the NPS, visit the NPS Website and read the related posts:
Network Performance Score: Templates for easy support in all products
Network Performance Score: Initiate improvements with a QoE-centric score


